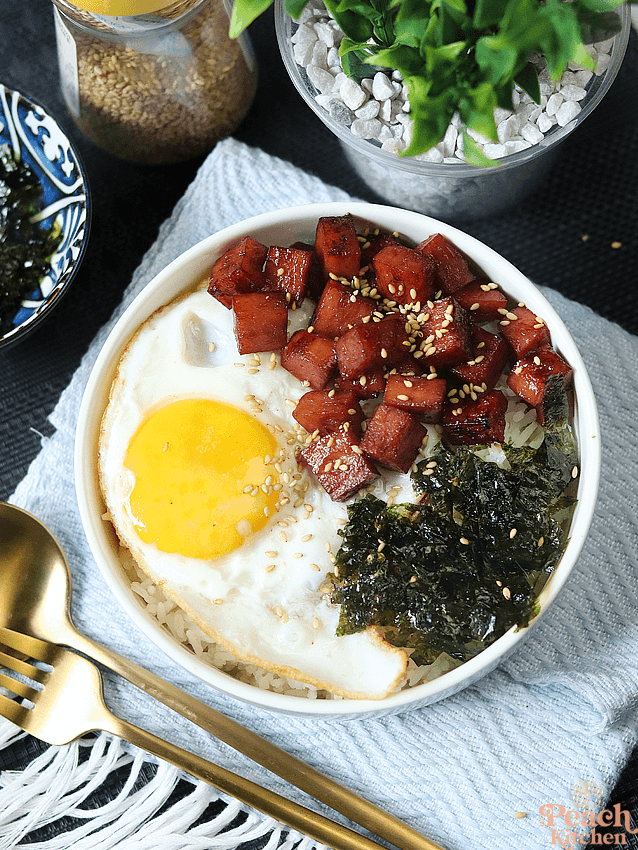
Even if you’ve never been to Hawaii, I’m sure you’ve probably seen musubi — the delightful snack made of sushi rice (or plain rice), a slice of spam (or luncheon meat) , and a swipe of sweet soy sauce, all wrapped up in a sheet of nori. It’s salty, savory, and undeniably delicious, and it’s become a beloved comfort food for many. But what if I told you that you could enjoy the same flavors in a more relaxed, bowl form? Enter the Musubi Rice Bowl, a fun and tasty twist on this island classic.
What Exactly Is a Musubi Rice Bowl?
A musubi rice bowl takes the traditional musubi—typically served as a compact, handheld snack—and transforms it into a more laid-back meal. Think of it as a deconstructed version of musubi, where all the ingredients come together in a bowl instead of being wrapped up and stacked neatly.
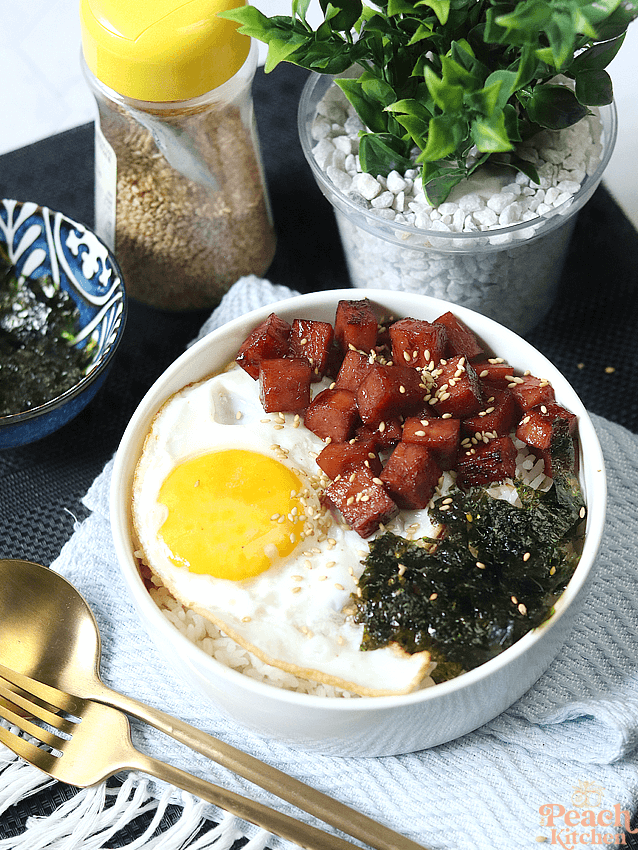
In place of the single, pressed slice of rice and luncheon meat, the musubi rice bowl has a hearty base of fluffy white rice, topped with slices of luncheon meat, and finished off with the signature sweet soy sauce. You can even add a sprinkle of furikake (the addictive Japanese rice seasoning), a bit of pickled ginger, and perhaps a few other toppings to make it your own. It’s a fun, customizable dish that hits all the same comfort-food notes.
MUSUBI RICE BOWL VIDEO RECIPE
Why It’s So Awesome
Comfort Food with a Twist – There’s something about musubi that just feels cozy and nostalgic. Maybe it’s the salty spam, the sticky rice, or the simple flavors that work so well together. The rice bowl version brings that same satisfaction, but in a more relaxed format that feels like you’re indulging without all the fuss.
It’s Super Easy to Make – One of the best things about the musubi rice bowl is how quick and simple it is to throw together. The rice cooks up fast, the spam gets crispy in a few minutes on the stovetop, and then you just layer everything in a bowl. No need to worry about perfecting the art of wrapping musubi in nori or shaping the rice.
It’s Versatile – While the classic musubi rice bowl might feature spam, you can switch it up however you want. Add some grilled chicken or even tofu for a vegetarian option. Want more veggies? Toss in some steamed edamame or sautéed spinach. It’s a blank canvas just waiting for you to get creative.
Perfect for Meal Prep – Musubi rice bowls are also great for meal prepping. You can easily batch-cook the rice and protein ahead of time, then store the components separately. When you’re ready to eat, just assemble and drizzle with soy sauce. It’s a no-fuss, grab-and-go lunch or dinner.
A Final Word
The musubi rice bowl might not have the same handheld charm as the original musubi, but in bowl form, it’s even more satisfying and versatile. Plus, it’s a great way to enjoy those iconic island flavors with minimal effort. Whether you’re having it for lunch, dinner, or just a snack, this bowl of goodness is sure to hit the spot.
So next time you’re craving musubi, why not skip the nori wrap and dive into a musubi rice bowl instead? It’s got all the flavor, less hassle, and you can make it just the way you like it!
PrintMusubi Rice Bowl
- Author: Peachy Adarne
Ingredients
- 2 cups cooked white rice (short-grain or sushi rice is ideal)
- 1 can of luncheon meat (I used Purefoods Luncheon Meat)
- 1 tbsp soy sauce
- 1 tbsp honey (you can also use brown sugar)
- 2 tbsp water
- Furikake seasoning (optional) or sesame seeds
- shredded nori sheets
Instructions
- Cook the rice according to package instructions and set aside to cool slightly.
- Slice the luncheon meat and cut it into small cubes. Fry them in a hot skillet until crispy and golden brown.
- While the luncheon meat cooks, mix the soy sauce, honey, and water in a small bowl. Pour this over the luncheon meat once it’s done, letting the pieces soak in the sweet-salty glaze for extra flavor.
- To assemble the bowls, start with a generous scoop of rice at the bottom. Add the glazed luncheon meat pieces on top, drizzle with a little more soy sauce or the leftover glaze, and sprinkle with sesame seeds if desired.
- Add any additional toppings you like, such as shredded nori sheets, a dollop of spicy mayo, a few slices of pickled ginger, or even some avocado for an extra creamy bite.
- Enjoy! It’s that simple.


