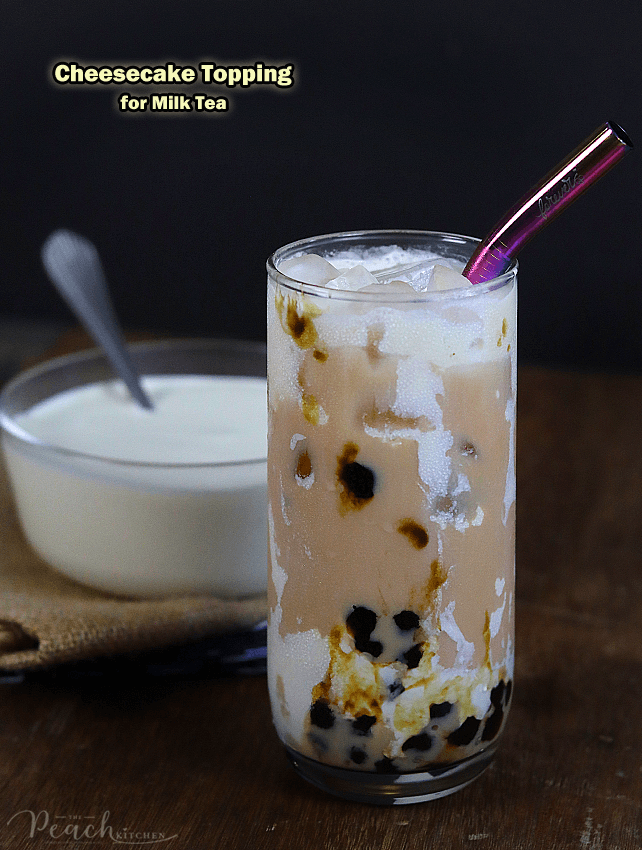
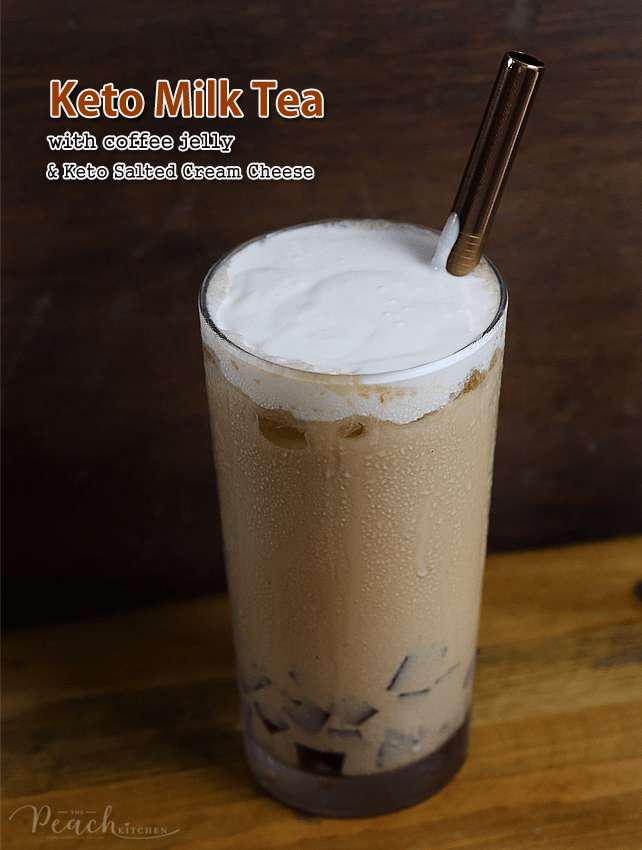
This Homemade Cheesecake Milk Tea is bound to happen at The Peach Kitchen at one point or another in our ECQ situation.
….Because ordering takes time. Lots of people are craving for Cheesecake Milk tea and the lines are ultra long. I don’t have the patience to order and wait. I just had to create our own so we can have it anytime we want.
…Because ordering is expensive. This Cheesecake Topping for Milk Tea has created many cups — for me, Ykaie, peanutbutter♥, my niece Chellie, and my cousin ate Tess. — AND we can put as much as we like, too.
…Because we simply love and crave for Cheesecake Milk Tea and WE CAN’T GO OUT!
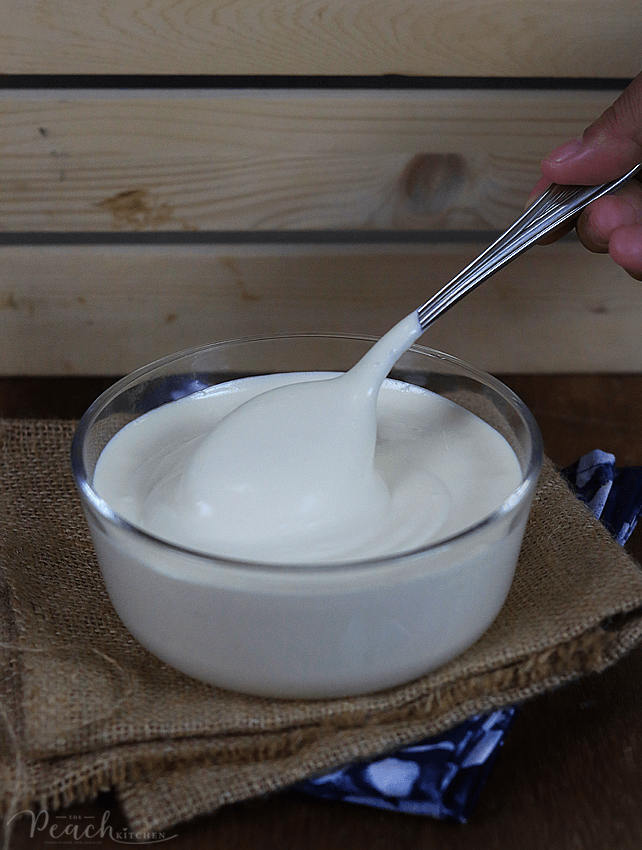
I made this Cheesecake Topping for Milk Tea the other because the craving was unbearable!
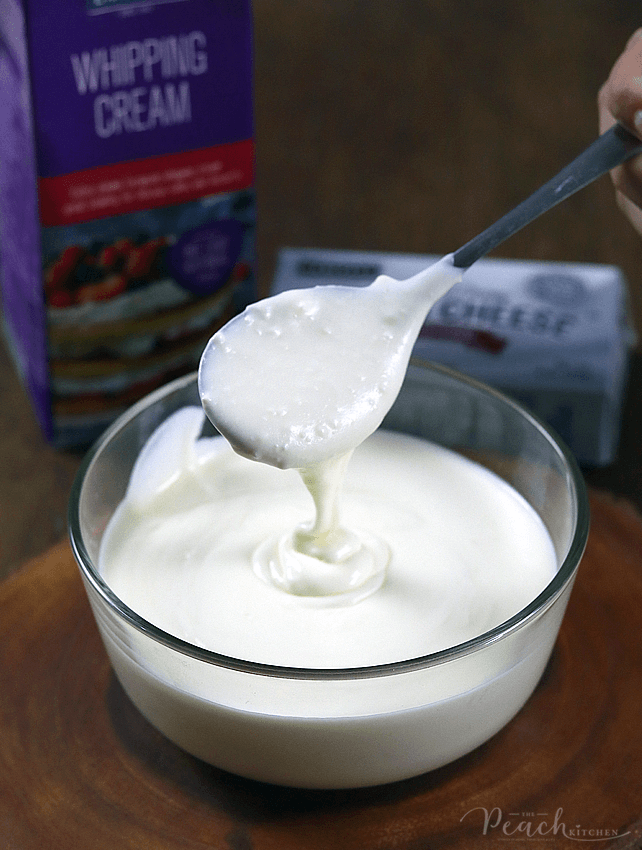
Upon my first try, I combined cream cheese, condensed milk, vanilla extract, and lemon extract in the mixer and ended up with a mixture that tastes like Macao Imperial Tea’s cheesecake topping but that fluffy dense texture wasn’t there. So what I did was clean up my mixer and whipped 250ml of Nestlé All Purpose Cream until it’s fluffy and doubles up in size and then combined it with the cream cheese mixture. It was a success!
The result was close enough but not quite as dense but it tasted really good… almost as if, we’d ordered it out.
WATCH THE VIDEO HERE:
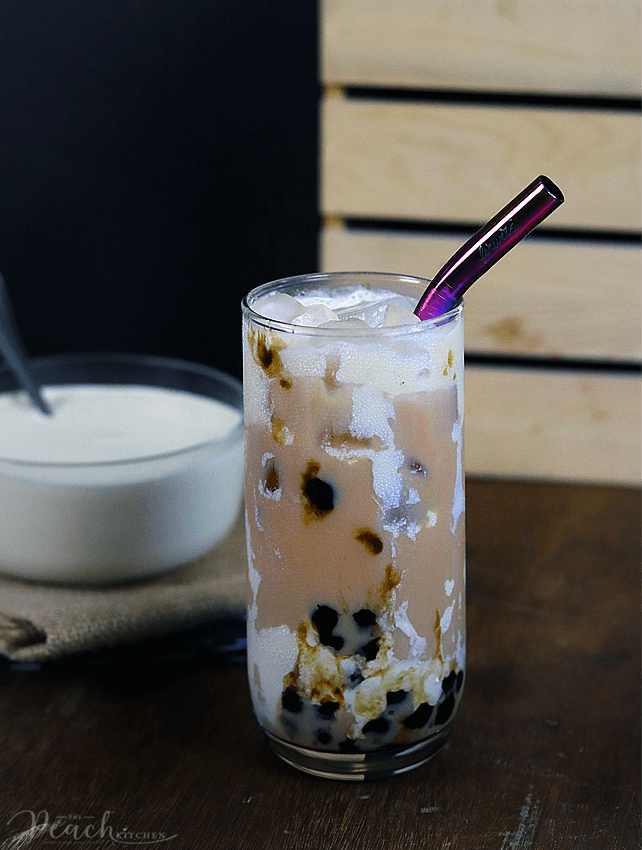
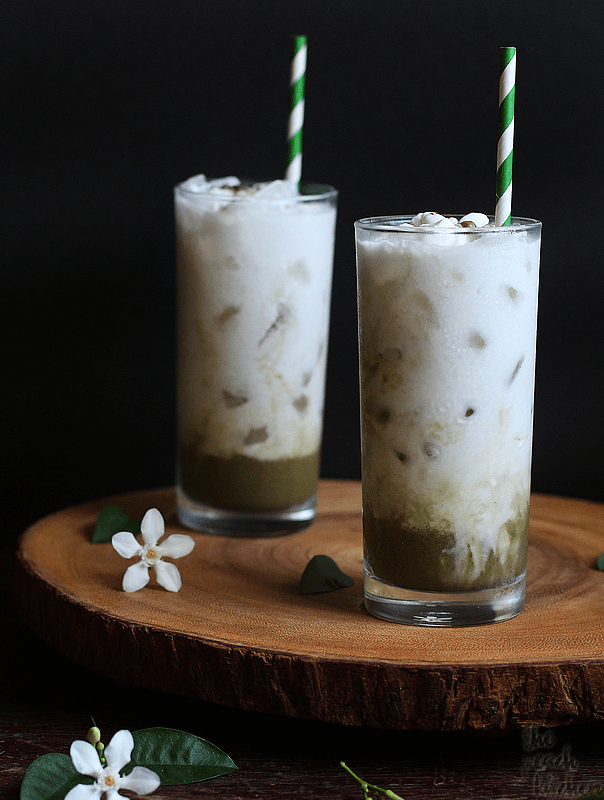
You might be wondering how I made the “Milk Tea”. Well, I just steeped 4 black tea bags in 2 cups hot water. Chilled in the fridge until cold and mixed 2 tbsp of heavy whipping cream and lots of ice.
As for the Brown Sugar Pearls… stay tuned, it’s coming up on my next YT Video and Blog post.
Happy Cheesecake Milk Tea making, guys!
OTHER RECIPES YOU MIGHT LOVE…
Cheesecake Topping for Milk Tea (ala Macao Imperial Tea)
- Author: Peachy Adarne
Ingredients
- 1 block (oz) cream cheese
- 3/4 can condensed milk
- 1 tsp vanilla extract
- 1 tsp lemon extract
- 1 pack (250ml) Nestle All Purpose Cream
Instructions
- Using a hand mixer, whip cream cheese until smooth and creamy.
- Pour condensed milk and continue mixing.
- Add the vanilla extract and lemon extract. Continue mixing until smooth and creamy.
- Transfer to a container and set aside.
- Whip the Nestle all purpose cream until doubles in size.
- Pour in the cream cheese mixture and continue mixing.
- Transfer to a container and chill for at least 1 hour before adding to your milk tea.
- Enjoy!
♥ If you make this recipe, kindly snap a photo and tag @thepeachkitchen on Instagram (OR hashtag it #thepeachkitchen). I’d love to see what you cook!











28 Responses
Ang sarap niyan mommy.. Lalo ngayon napaka init ng panahon.. So refreshing ang milk tea. With cheesecake toppings.. Yay..
★★★★★
Wow. ? perfect for summer. Saraap. Lalo na lag salo salo kasama pamilya?
★★★★★
Wow. ? perfect for summer. Saraap. Lalo na lag salo salo kasama pamilya?
★★★★★
Yay ang Sarap nmn, perfect sa mainit na panahon. Tanggal uhaw
★★★★★
Sarap naman po nyan refreshing talaga Lalo ngayong summer?
★★★★★
naku…ang sarap naman nito.. Tamang tama sa mainit na panahon..
★★★★★
Nakakapawi ng uhaw ngayong taginit
Sarap sumipsip ng ganyan ngayong mainit
Makagawa nga rin nito ngayong summer. Sarap!
Thanks for sharing momsh sarap naman nyan.
Wow! Refreshing and healthy pa… Meron akong friend na nag keketo perfect ito sa kanya …
Thank you sa directions momsh crave na crave na talaga ako sa milktea ?? pag nagkapera gagawa talaga ako hehe
★★★★★
Thank you i like your blog its so good
hanks for your great articles
hi there
I want to know for how long you can keep this foam in the refrigerator?
Thank you
hi Thanks for sharing
what a great post! so helpful with the photos!
very nice article thank you for sharing
What a great website you have. Good luck
I want to know for how long you can keep this foam in the refrigerator?
Thank you
Thanks for sharing momsh sarap naman nyan.
★★★★★
very nice article thank you for sharing
tank you so much
very good web site
oh my god I really like this recipe mst-307@
Thank you i like all of this so good
hi I think the pie crust is my favorite
thanks a lot its really awsome
its relly helpfull
thanks a lot….
★★★★★
Thank you very much, I am very fond of food and these days my only entertainment is eating and listening to music